
SI Joint Pain When Sitting at a Desk: 3 Self-Tests and What They Mean

Jeffrey Sun, ACE-CPT
July 11, 2026 · 15 min read
ACE-certified personal trainer specializing in functional movement, mobility, and strength training for busy professionals in San Jose and the Bay Area.
Book a free consultation →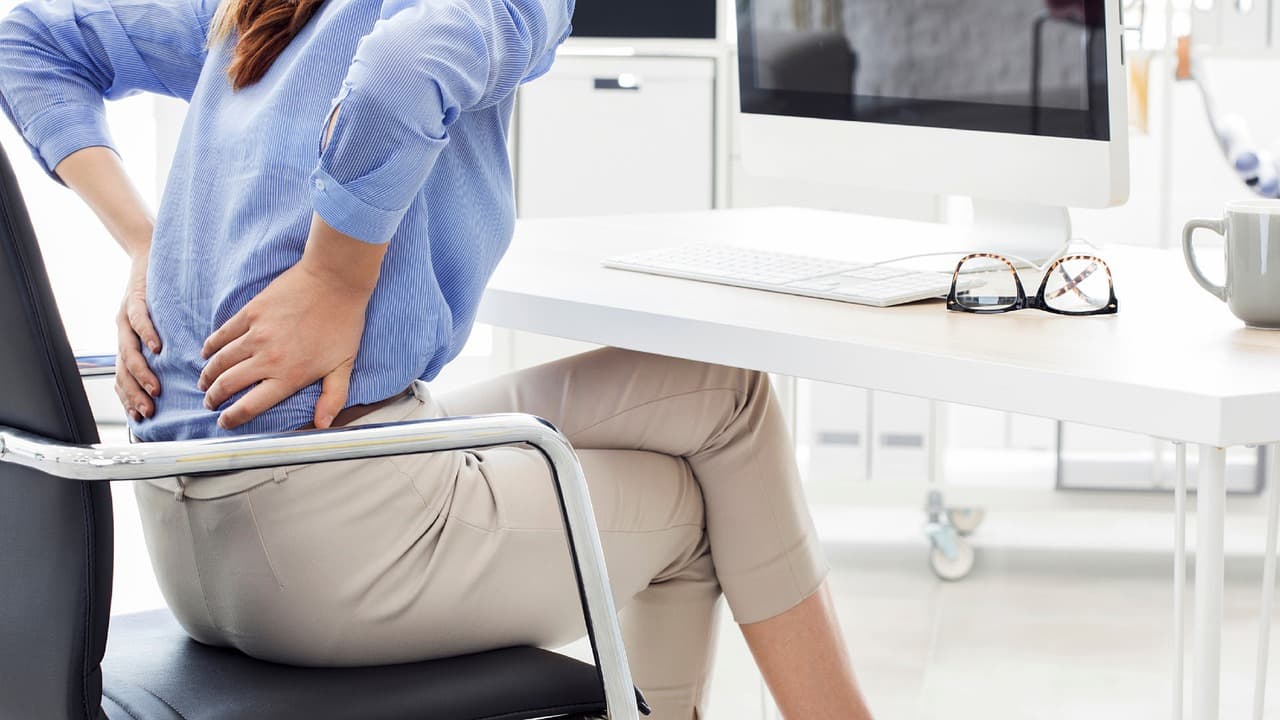
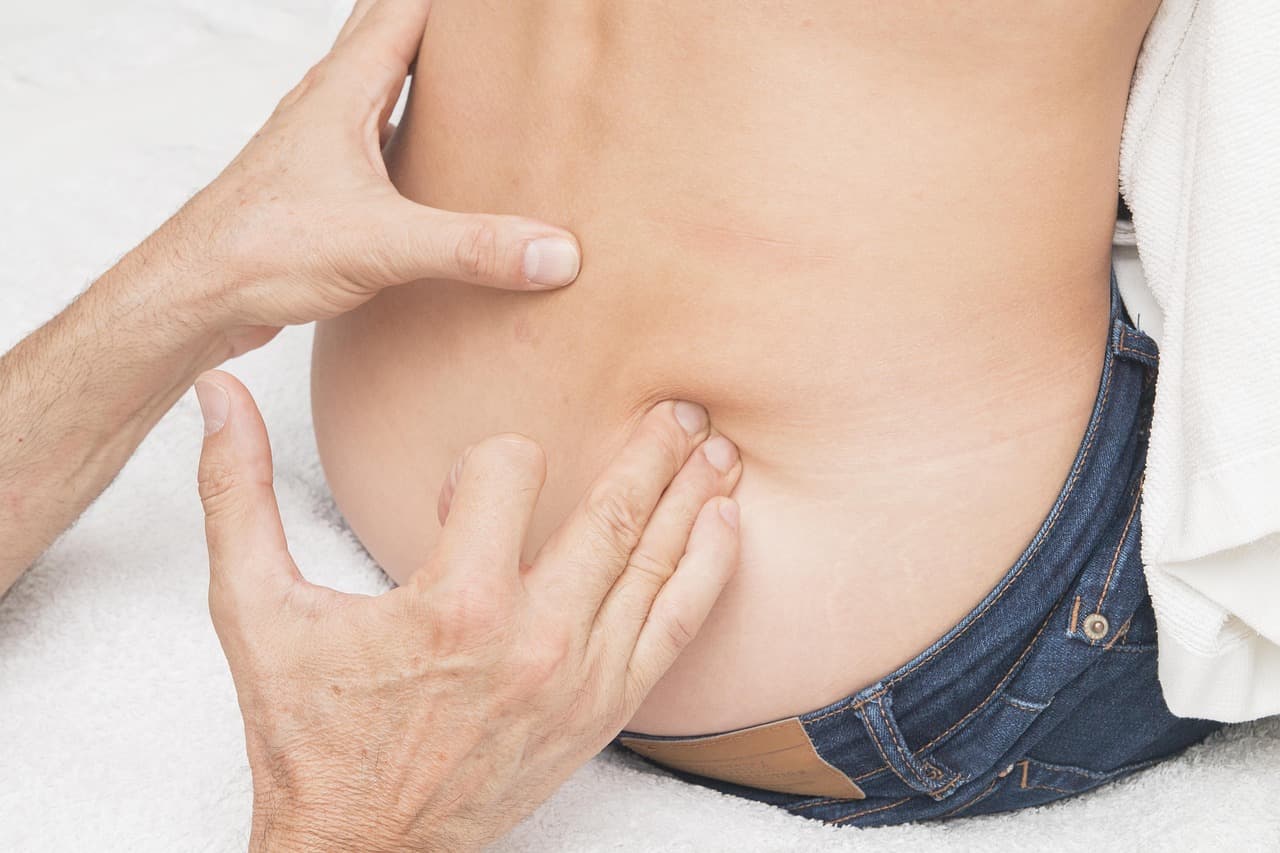
A client of mine, mid-thirties, spent three months convinced she'd pulled a hamstring. The ache sat low on one side of her back, right above the glute, and it flared hardest the moment she stood up after a long stretch at her desk. She stretched her hamstring daily. She foam rolled it most nights. Nothing moved. When she finally pointed to exactly where it lived, one dimple above her waistband, not down the back of her thigh, it stopped being a hamstring mystery. That spot is the sacroiliac joint, and it's one of the more commonly missed sources of one-sided low back pain in people who sit for a living.
The SI joint doesn't get talked about the way the low back or hips do. Search for help and you mostly find pain clinics offering injections or spine surgery pages. That's a strange first stop, because in a desk worker with no red flags, this is usually a mechanical loading problem before it's anything else. This isn't medical advice. If you have numbness, leg weakness, pain that's gotten worse over weeks, or any history of trauma, see a doctor before doing any of what follows. For everyone else whose SI joint just aches from sitting too much, here's how to check it yourself and what to do about it.
Why sitting all day is uniquely hard on the SI joint
The sacroiliac joint connects your sacrum, the triangular bone at the base of your spine, to your ilium, the wing-shaped bone that makes up each side of your pelvis. There's one on each side. Unlike the hip or knee, it's not built for a big range of motion. It moves just a few millimeters and mostly exists to absorb and transfer load between your upper body and your legs.
Sitting changes how that load gets distributed. Slouched in a chair, your pelvis tends to tuck under and rotate, and if you sit with your legs crossed, lean toward one armrest, or keep a wallet in a back pocket, that load skews further to one side. Do that for eight hours a day, five days a week, for years, and one SI joint ends up carrying more than its share while the muscles meant to stabilize it, mainly the glutes and deep core, go quiet from disuse. The joint starts complaining under demands it wasn't built to handle alone.
This is also why SI joint pain tends to show up on one side rather than both, and why it often gets missed. A one-sided ache low in the back that isn't the classic sciatica pattern doesn't fit the story most people have in their head for back pain, so it gets chalked up to a pulled muscle, a stiff hip, or "just getting older."
SI joint pain vs. sciatica vs. general low back pain
Three patterns get confused with each other constantly, and telling them apart matters because the fix is different for each.
SI joint pain stays close to the joint, at or just below your beltline on one side, right around that dimple above the glute. It rarely travels past the knee, and there's usually no numbness or tingling involved. It gets worse with prolonged sitting, standing up from a chair, climbing stairs, or single-leg movements like getting out of a car.
Sciatica is a different animal. It follows the sciatic nerve down the back of the thigh, often past the knee into the calf or foot, and it tends to come with numbness, tingling, or a burning or electric quality rather than a dull ache. That's the nerve talking, not the joint, and it's frequently worse with bending forward or sitting on the affected side.
General mechanical low back pain tends to sit more centered, spanning both sides of the spine instead of camping out on one side. It usually tracks with spinal position, worse with bending, arching, or twisting, rather than with which leg you're standing on.
If your pain is central and moves with how you bend your spine, this post isn't really about you, the lumbar spine mobility test is a more precise starting point. If it runs down past your knee with numbness or tingling, see a doctor before trying any of this. If it's one-sided, sits right at that dimple above your glute, and flares with sitting and single-leg loading, keep reading.
Test 1: Standing flexion test
This checks whether the two sides of your pelvis move symmetrically when you bend forward. One side lagging behind the other is a common sign of restriction on that side.
Stand facing a full-length mirror, or better, have someone film you from behind on a phone. Feet hip-width apart. Place your thumbs on the two bony points at the top of your buttocks, just below your beltline, one on each side. Those are your posterior superior iliac spines, or PSIS, and they're the two dimples most people can feel with a little pressure. Slowly bend forward, sliding your hands down your legs, and watch your thumbs in the mirror or on the video.
What you're measuring: whether your thumbs stay level with each other as you bend, or whether one visibly rises higher than the other early in the movement.
Pass: Thumbs stay roughly level through the bend, with symmetrical movement on both sides. Borderline: One thumb rises slightly ahead of the other but they even out by the bottom of the movement. Fail: One thumb clearly rises higher and stays higher than the other through the whole movement, or you feel a pinching sensation on one side as you bend.
The side that rises early and stays high is usually the side with the SI joint that isn't moving well. Run this two or three times to make sure what you're seeing is consistent and not just a bad angle on the video.
Test 2: Supine figure-4 position
This uses the same position as the hip mobility test, but you're checking something different here. The hip test measures how far your knee drops. This one is about where you feel anything, not how far you move.
Lie on your back on a firm surface, knees bent, feet flat. Cross one ankle over the opposite knee, so your legs form a rough figure 4. Let the bent knee slowly fall out to the side under its own weight. Don't force it down with your hands.
What you're measuring: where you feel tightness or pain, and whether it's sharp or dull.
Pass: A mild, even stretch across the outer hip and glute, no sharp pain, roughly the same on both sides. Borderline: A stronger pull on one side than the other, but nothing sharp. Fail: A sharp or pinching pain low in the back or right at the dimple above your glute on the same side, distinct from a normal muscle stretch. Pain that shows up in the groin instead points more toward the hip joint itself rather than the SI joint. Pay attention to exactly where it lands, that's the detail that tells you which structure is actually the problem.
Test 3: Single-leg stork test
This one checks whether your pelvis rotates the way it should when you shift weight onto one leg. That's exactly what your body has to do every time you take a step, climb a stair, or stand up from a chair.
Stand facing a mirror. Find the dimple at the top of one buttock (the PSIS again) and rest one thumb on it. Rest your other thumb on your sacrum, the flat bony area in the center of your low back, right between the two dimples. Slowly lift the knee on the side you're palpating up toward your chest, like you're marching in place, and pay attention to what your thumbs feel.
What you're measuring: whether the thumb on the PSIS drops slightly relative to the thumb on the sacrum as you lift your knee. That small relative motion is the SI joint doing its job.
Pass: A small, clear shift, the PSIS thumb drops slightly below the sacrum thumb as the knee comes up, and it feels the same on both sides. Borderline: The shift happens but feels smaller or less distinct on one side. Fail: Little to no relative movement on one side, or pain provoked right at the joint as you lift the knee on that side.
This is a hard test to feel precisely without practice, and a positive result on its own doesn't mean much. It's most useful alongside the other two.
What your results actually mean
No single test above is diagnostic on its own, and that's true in the clinic too, not just at home. A 2005 study in Manual Therapy on SI joint provocation testing found that individual tests weren't reliable by themselves, but when two or more came back positive together, accuracy for catching a real SI joint problem jumped to 88 percent sensitivity and 78 percent specificity. That's the whole reason I built this as three tests instead of one.
Read your three results as a group, not one at a time.
If you failed or bordered on two or three tests, and they all point to the same side, that's a fairly strong pattern for SI joint involvement on that side. If you failed one test but passed the other two cleanly, it's worth rechecking in a few days rather than assuming the worst from a single result. If your results were symmetrical and nothing produced sharp, localized pain, your low back pain probably has a different source, and the posture self-check or the core stability test are better next stops.
What's actually causing it
Three things converge on the SI joint in most desk workers, and they're the same three culprits that show up across a lot of desk-related pain, just landing on a different joint this time.
Tight hip flexors from sitting in flexion all day pull the front of the pelvis down and forward, which changes how load transfers through the SI joint on that side. Underactive glutes mean the muscles meant to stabilize the pelvis during walking and standing aren't doing their job, so the joint itself ends up absorbing forces the glutes should be controlling. And asymmetric loading, crossed legs, leaning to one side, a wallet in a back pocket, compounds all of it by consistently favoring one side over the other, hour after hour, for years.
None of those three are structural damage. They're all things a consistent routine can change. That's the good news buried in an otherwise annoying problem.
A corrective routine to rebuild control around the joint
Five drills, aimed at the three upstream causes rather than the joint itself. Run this as a daily ten-minute block for two to three weeks, then retest the three checks above.
1. Bird dog, 2 sets of 8 per side
Targets: core and pelvic stability
Start on all fours, hands under shoulders, knees under hips. Extend one arm straight forward and the opposite leg straight back at the same time, keeping your hips level and your low back from arching or twisting. Hold for two seconds, return to start, switch sides.
The hips staying level is the whole point. If your hip rotates or dips as you extend, you're compensating instead of building the stability this drill is meant to teach. Slow down until you can keep your hips square.
2. Clamshell, 2 sets of 15 per side
Targets: glute medius activation
Lie on your side, knees bent to about 45 degrees, feet stacked and touching. Keeping your feet together, lift your top knee toward the ceiling without letting your pelvis roll backward. Lower with control.
Most people rush this and rotate through the hip instead of isolating the glute. Put your top hand on your hip to feel for any rocking, and if it's rocking, shrink the range until it stops.
3. Glute bridge march, 2 sets of 10 per side
Targets: glute activation under single-leg load
Lie on your back, knees bent, feet flat. Bridge your hips up and hold. While staying level, lift one knee toward your chest, hold briefly, lower it, then switch sides without letting your hips drop between reps.
This is the drill that most directly rebuilds what Test 3 is checking, single-leg pelvic control, but done lying down where it's easier to feel and control before you take it into standing.
4. Standing hip hitch, 2 sets of 10 per side
Targets: lateral pelvic control
Stand on a low step with one foot, letting the other foot hang off the edge. Without bending either knee, drop the hanging hip down toward the floor, then lift it back up above level by hiking it toward your ribs. Control both directions.
This one is uncomfortable to feel at first because it's isolating a motion most people never train on purpose. Go slow and small before you go for range.
5. Supine figure-4 stretch, 60 seconds per side
Targets: piriformis and outer hip length
Same position as Test 2. Cross one ankle over the opposite knee, then gently pull the uncrossed thigh toward your chest until you feel a stretch through the outer hip and glute of the crossed leg. Hold, breathe, and don't force it if anything feels sharp rather than stretchy.
A tight piriformis sits close to the SI joint and can add to the load it's under. This is the easiest piece of the routine to do daily, even outside the ten-minute block, on the floor at home in the evening.
Desk setup and sitting habits that take load off the SI joint
The routine above rebuilds the muscles that should be sharing the load. A few habit changes reduce how much load the joint takes on in the first place.
Sit with weight even on both sit bones. If you catch yourself leaning toward one armrest or crossing the same leg every time, that's the asymmetric loading pattern doing its thing, hour after hour. Alternate which leg is on top if you cross them at all, or better, keep both feet flat.
Move a wallet, phone, or anything else out of your back pockets before you sit for long stretches. It sounds minor, but sitting on an uneven surface for eight hours a day tilts the pelvis the same direction every single time.
Stand up at least once an hour. The SI joint doesn't have much room to move on its own, and prolonged static positions, in any position, are harder on it than regular position changes. A short walk to refill water counts.
When to see a doctor instead of doing this routine
A few patterns mean this routine isn't the right first move.
Numbness, tingling, or weakness anywhere in the leg needs a clinical evaluation before anything else. So does pain that's gotten steadily worse over several weeks despite rest, or pain that showed up after a fall, car accident, or other clear trauma. Fever alongside back pain, or any change in bladder or bowel control, needs urgent medical attention, not a stretching routine.
Pain during pregnancy or in the months after childbirth is common and often SI-related, since the ligaments around the joint loosen during pregnancy, but it's worth working with a physical therapist who specializes in that population rather than guessing from a blog post.
For everyone else, the pattern this post covers, a one-sided ache that flares with sitting and improves with movement, two to three weeks of focused work on the routine above is a reasonable first step before anything more involved.
Next step: the full movement screen
The three tests above look at one joint. If you want the fuller picture, hips, thoracic spine, ankles, core, and shoulders included, I built a free movement screen that scores all six areas in about five minutes. No email required. It runs the same assessment I use with new clients and generates a downloadable 1-week program built around whatever scored lowest.
SI joint issues in desk workers rarely show up alone. Tight hips and a quiet core tend to travel together, and the screen is built to catch that whole pattern instead of just the piece that happens to hurt right now.
Where to go from here
Run the three tests. If your results cluster on one side, start the routine and give it two to three weeks before you judge whether it's working. Most desk workers with this pattern notice the sharpest version of the pain fading first, followed by the dull background ache a week or two later.
If you've worked through this and nothing's moving, or your pain matches any of the red flags above, that's the moment to get a physical therapist or doctor to put hands on it. That's also where one-on-one training fits, once the acute piece is sorted out. I've logged over 12,000 sessions with adults across San Jose and the Bay Area, and pelvic and hip control issues from years at a desk are on the short list of what I rebuild the most. The routine above is a solid starting point, but a program built around your specific pattern moves faster than a generic one ever will.
Ready to train smarter?
Get a personalized program built around your goals, your body, and your schedule.
Book Your Free ConsultationRelated Articles
Outer hip pain when you lie on your side? Three at-home tests for gluteal tendinopathy
Hip pain when lying on your side is usually a tendon problem, not bursitis, and some of the usual advice makes it worse. Three at-home tests for gluteal tendinopathy and an 8-week plan from a San Jose trainer.
Strength training for hip osteoarthritis: three at-home tests and what the newest trials say
Strength training for hip osteoarthritis does less for pain than most exercise lists suggest and more for what you can still do. Three at-home tests show which problem your hip actually has. A San Jose trainer's read on the 2024 to 2026 research.
Morning heel pain? At-home tests for plantar fasciitis, and why the first step after sitting hurts most
Heel pain in the morning that eases as you walk is the classic plantar fasciitis pattern. Three at-home self-tests to confirm it, a way to find what's driving yours, and the strength program the trials support, from a San Jose trainer.