
Posture self-check at home: a 5-minute assessment for desk workers
Jeffrey Sun, ACE-CPT
June 11, 2026 · 11 min read
ACE-certified personal trainer specializing in functional movement, mobility, and strength training for busy professionals in San Jose and the Bay Area.
Book a free consultation →
Almost every new client I see at my studio in San Jose tells me their posture is bad before I've watched them stand up. They've heard it from a partner, a chiropractor, or a friend who took one Pilates class. They mostly don't know what specifically is wrong, just that something is.
The trouble is, "bad posture" is a useless label. It tells you nothing about which joints are stiff, which muscles are quiet, and which patterns are driving the discomfort. Two people with rounded shoulders can have completely different underlying issues.
The four tests below are the ones I run in the first ten minutes of a session. They take about five minutes total. You don't need any equipment beyond a phone, a wall, and a friend or a mirror. By the end you'll know which of the common desk-worker patterns is showing up in your body, and what to do about it.
What "good posture" actually means (and the myth of perfect alignment)
There's a picture in everyone's head of perfect posture. Shoulders pinned back. Chest out. Head perfectly stacked. Stand like a soldier at attention and you've nailed it.
That picture is mostly wrong, and trying to hold it makes things worse for a lot of people.
What healthy posture actually looks like is a body that can move freely in and out of different positions without stiffness or pain. A spine that can flex, extend, and rotate through its normal range. Hips that can sit, stand, and hinge without compensation. Shoulders that can reach overhead. You're not chasing a static shape. You're chasing access to your full range of motion.
The reason most desk workers have posture issues isn't that they sit. It's that they sit in roughly the same shape for ten hours a day, and their body loses access to the shapes they're not using. Stiff t-spine, stiff hips, sleepy glutes, sleepy deep neck flexors. Hold any one position long enough and the tissues adapt to it.
What we're testing for in the next four checks isn't whether you look like a magazine cover. It's whether you've lost access to specific ranges that your body actually needs.
What you'll need for the 5-minute self-check
Keep this simple.
A phone with a camera. Better if a friend or partner can take the photos. A mirror works too but is less useful for side angles.
A wall with about three feet of clear floor in front of it. Smooth surface, no baseboards interfering at your heels.
Wear something form-fitting. A t-shirt and shorts or leggings. Loose clothing hides what we're looking for.
Stand barefoot or in socks. Shoes change your stance and can mask hip and ankle issues.
That's it. No tape measure, no app, no rolling foam tube. The tests are about pattern recognition, not millimeter precision.
Test 1: the wall test for forward head and rounded shoulders
This is the most well-known posture test for a reason. It exposes the upper-body pattern that nearly every desk worker develops over time.
How to do it. Stand with your heels about three inches from a wall. Press your butt, upper back, and the back of your head against the wall at the same time. Arms relaxed at your sides. Hold for thirty seconds. Note what you feel.
Pass: Your butt, upper back, and the back of your head all touch the wall without strain. Your chin stays roughly level. The hold feels neutral, not effortful.
Fail (forward head): To get your head against the wall, you have to tilt your chin up toward the ceiling. Or you can keep your chin level but your head won't actually reach the wall. There's a gap.
Fail (rounded shoulders): Your upper back touches the wall but your shoulders feel pinned in an unnatural position. You feel a stretch across your chest. Within ten or fifteen seconds you want to roll forward out of it.
What it means. A failed wall test usually points to a stiff thoracic spine, tight chest and shoulder muscles, and sleepy upper back muscles. The position your body has been holding all day at a desk has shortened the front and lengthened the back, and now you can't easily reverse it.
If you also got a sharp pinch in the low back during this test, your pelvic tilt is probably involved too, which is what the next test will pick up.
Test 2: side-profile photo for hip tilt and rib flare
Have someone take a photo of you standing relaxed, from the side. This is the single most useful posture photo you can take.
Setup. Stand naturally. Don't try to "stand tall" or correct anything. Look straight ahead. Arms at your sides. Camera at hip height, about six feet away, capturing your full body.
What to look for in the photo.
Pelvis level: Draw an imaginary line from the front of your hip bone to the back of your hip bone. If that line is roughly horizontal, your pelvis is neutral. If the front of the pelvis dips down hard, that's anterior pelvic tilt, the most common pattern in desk workers. If it tucks under, that's posterior tilt, more common in people who sit slumped.
Lower back curve: A small natural curve in the low back is normal. A deep arch with the belly pushed forward and the butt sticking out is excessive anterior tilt. A flat low back with the tailbone tucked is posterior tilt.
Rib position: Your bottom ribs should sit roughly over your pelvis. If your ribs flare up and forward while your pelvis tilts down, you're stuck in extension, which usually goes along with a stiff thoracic spine and tight hip flexors.
Head position: Where does your ear sit relative to your shoulder? Directly above it is neutral. An inch or two forward is mild forward head, common in desk workers. Several inches forward and you're well into the pattern.
I have clients look at their own side-profile photo and they often see things they've never noticed. The visual is more honest than the mirror because you can't unconsciously correct it.
Test 3: shoulder symmetry and scapular winging check
This one needs a friend or a second mirror behind you.
Stand naturally. Have your friend look at your back. Are your shoulders level, or is one higher than the other? Are both shoulder blades flat against your ribcage, or is one (or both) sticking out at the inner edge?
Pass: Shoulders look roughly even. Shoulder blades sit flat. The space between your arms and your torso looks the same on both sides.
Fail (uneven shoulders): One shoulder visibly higher than the other. Common in people who carry a bag on one side, sleep on one side, or work at a desk with a non-symmetric setup like a phone on one ear or a mouse far to the right.
Fail (winging scapula): The bottom or inner edge of one or both shoulder blades pokes out away from your ribcage. This is usually a sign of weak serratus anterior or middle trapezius, the muscles that hold the shoulder blade against the rib cage. It can also show up as a result of years of slouching.
Then do a quick arm raise. Standing facing the mirror, slowly lift both arms straight overhead. Do they go up evenly? Does one shoulder shrug up to the ear while the other moves smoothly? Do both arms get fully overhead, or does one stop short?
A shoulder that won't reach overhead, or that has to compensate by leaning the body sideways, usually points to either a t-spine restriction or a true shoulder mobility issue. Either way it's worth checking.
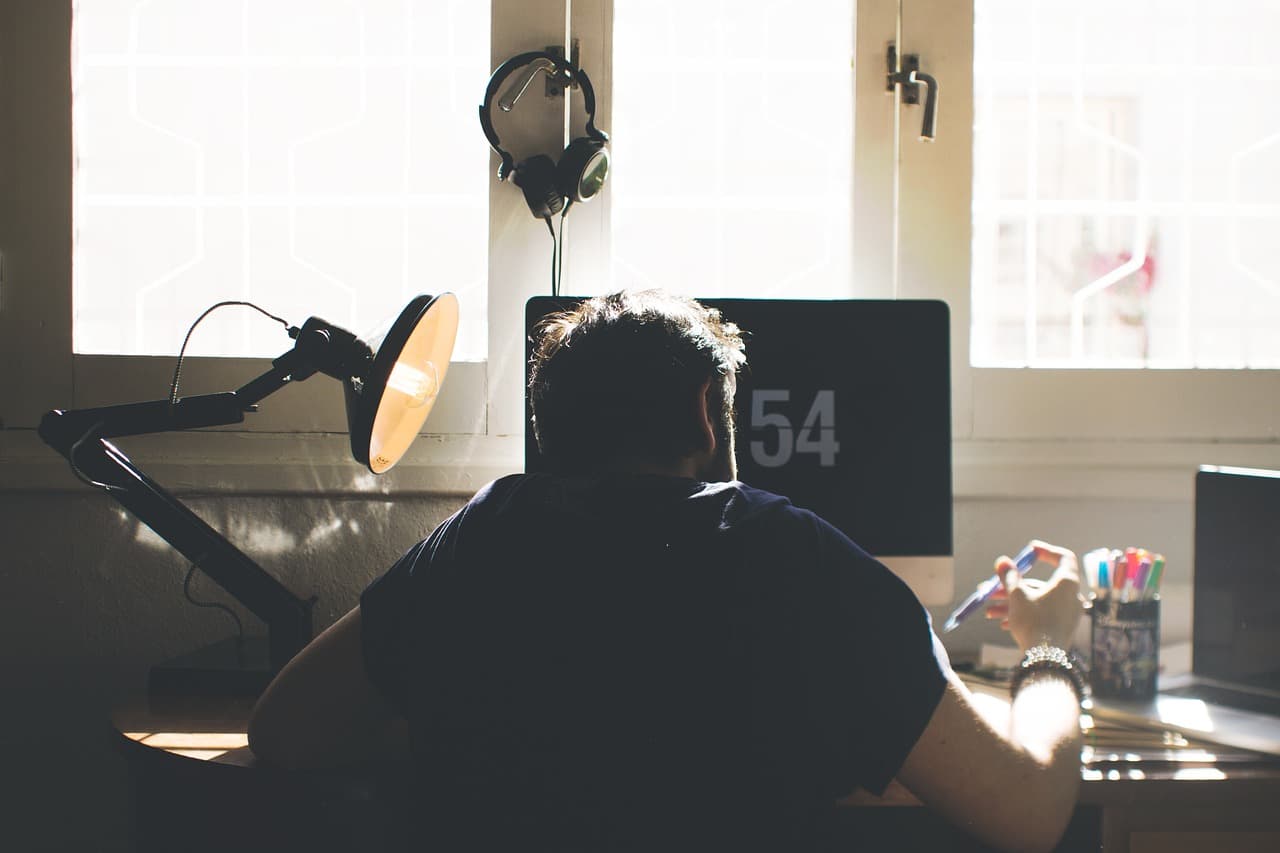
Test 4: seated posture check at your actual desk
This test catches what the others miss. Standing posture is one thing. Most desk workers spend less than two hours a day in it. The position that matters most for them is the one they hold for eight to ten hours.
Set up your camera or have a friend take a photo of you at your actual desk, from the side, while you're working. Not when you're consciously sitting up. Actually working. Reading email or coding.
What to look for.
Hip angle: Is your hip angle roughly ninety degrees, or is it closed off so your knees are higher than your hips? Closed hip angles all day pull the pelvis into posterior tilt and shut down the glutes.
Spine shape: Is your low back rounded into the chair, or does it have its natural curve? Is your upper back rounded forward into the desk?
Head and neck: Where is your head relative to your shoulders? Most people who fail this test have their head significantly forward, jaw jutting, eyes pulled to the screen. The further your head sits forward, the more your neck and upper traps have to work to hold it up.
Monitor position: Where is the top of your screen relative to your eyes? If you're looking down at a laptop on the desk, your neck will collapse forward no matter what your standing posture looks like.
The desk photo often shocks people. They've spent hours on standing posture and never looked at the actual position they live in. If you fix the desk setup, you're addressing the cause. If you only train standing posture without changing the desk, you're fighting a losing battle ten hours a day.
If your neck specifically is the thing that aches at the end of the workday, I wrote up what's actually causing neck pain when you sit at a desk which goes deeper on monitor setup and the upper-trap pattern.
What your results mean: 3 common desk-worker patterns
Most desk workers don't fail all four tests at random. The failures cluster into patterns. Here are the three I see most often.
Upper-cross pattern. Forward head and rounded shoulders on the wall test. Head forward in the side-profile photo. Often winging scapula or uneven shoulders. Comfortable seated but the upper back and neck ache by the end of the day. This is what years of monitor-staring builds. The fix involves t-spine mobility work, deep neck flexor strengthening, and rear-delt and mid-back strength. It responds well to consistent work.
Lower-cross pattern. Anterior pelvic tilt and rib flare in the side-profile photo. Excessive arch in the low back. Often a tight, achy low back at the end of the day, especially after sitting. Hip flexors are short and tight. Glutes are sleepy. The lower abdominals are weak. The fix is hip flexor mobility, glute activation, and core work that emphasizes posterior pelvic control rather than crunches.
Sway-back pattern. Pelvis pushed forward. Upper back slumped backward to compensate. Looks like the person is hanging on their joints rather than supporting themselves. Common in tall, lean people and in people who've been slouching for so long the pattern has set. This one needs full-body strength work to rebuild the support system, not just stretching.
You may have features of more than one pattern. That's normal. Most desk workers do. The point isn't to label yourself perfectly. It's to know where to start.
What to do next: targeted drills vs when to get a full screen
If one pattern showed up clearly and you don't have pain, you can start working on it yourself. Pick the two or three biggest things from your test results. If your wall test failed badly, work on t-spine extension and chest opening daily. If the side-profile shows hard anterior tilt, work on hip flexor mobility and glute activation. Be consistent. Most posture patterns take eight to twelve weeks of regular work to shift meaningfully.
If your tests showed multiple patterns stacking together, or if you're already dealing with pain, the targeted drill approach gets harder. You can spend three months stretching the wrong thing and make nothing better. This is where an outside eye matters. A trainer or PT can see what you can't and tell you which thing to address first.
A good starting point if you want a structured next step is the movement screen. It's the same assessment I run in a first session, condensed to five minutes online. You get a breakdown of which patterns are limiting you and which mobility work will move the needle. No email required.
If your thoracic spine was the thing that lit up most in the wall test, the thoracic spine mobility test at home is the more focused next read.
And if you're in San Jose or the South Bay and want to actually fix this with someone watching, come work with me. I screen all of these patterns on the first session and we build the work into your training so it actually sticks. Posture isn't a five-minute fix, but it's also not a mystery. Once you know what's going on, the path forward gets a lot clearer.
Ready to train smarter?
Get a personalized program built around your goals, your body, and your schedule.
Book Your Free ConsultationRelated Articles

How to breathe during heavy lifts: a desk worker's guide to bracing
Bracing falls apart for most desk workers because they've been chest-breathing for years. A San Jose trainer's guide to diaphragmatic breathing, the Valsalva maneuver, and how to breathe under real load.

Injury or Just Sore? A Decision Framework for Training Through Pain After 30
A San Jose trainer's framework for telling injury apart from regular soreness — a three-question test, a lifter-specific pain scale, red flags, and lift-by-lift modifications when something hurts.

Grip Strength Test at Home: How to Measure It and Build It After 40
A San Jose trainer's guide to testing your grip strength at home with a dead hang, what counts as a decent score after 40, and the moves that actually build it.