
Do your glutes actually fire? A three-part dead butt syndrome test you can score at home

Jeffrey Sun, ACE-CPT
September 18, 2026 · 15 min read
ACE-certified personal trainer specializing in functional movement, mobility, and strength training for busy professionals in San Jose and the Bay Area.
Book a free consultation →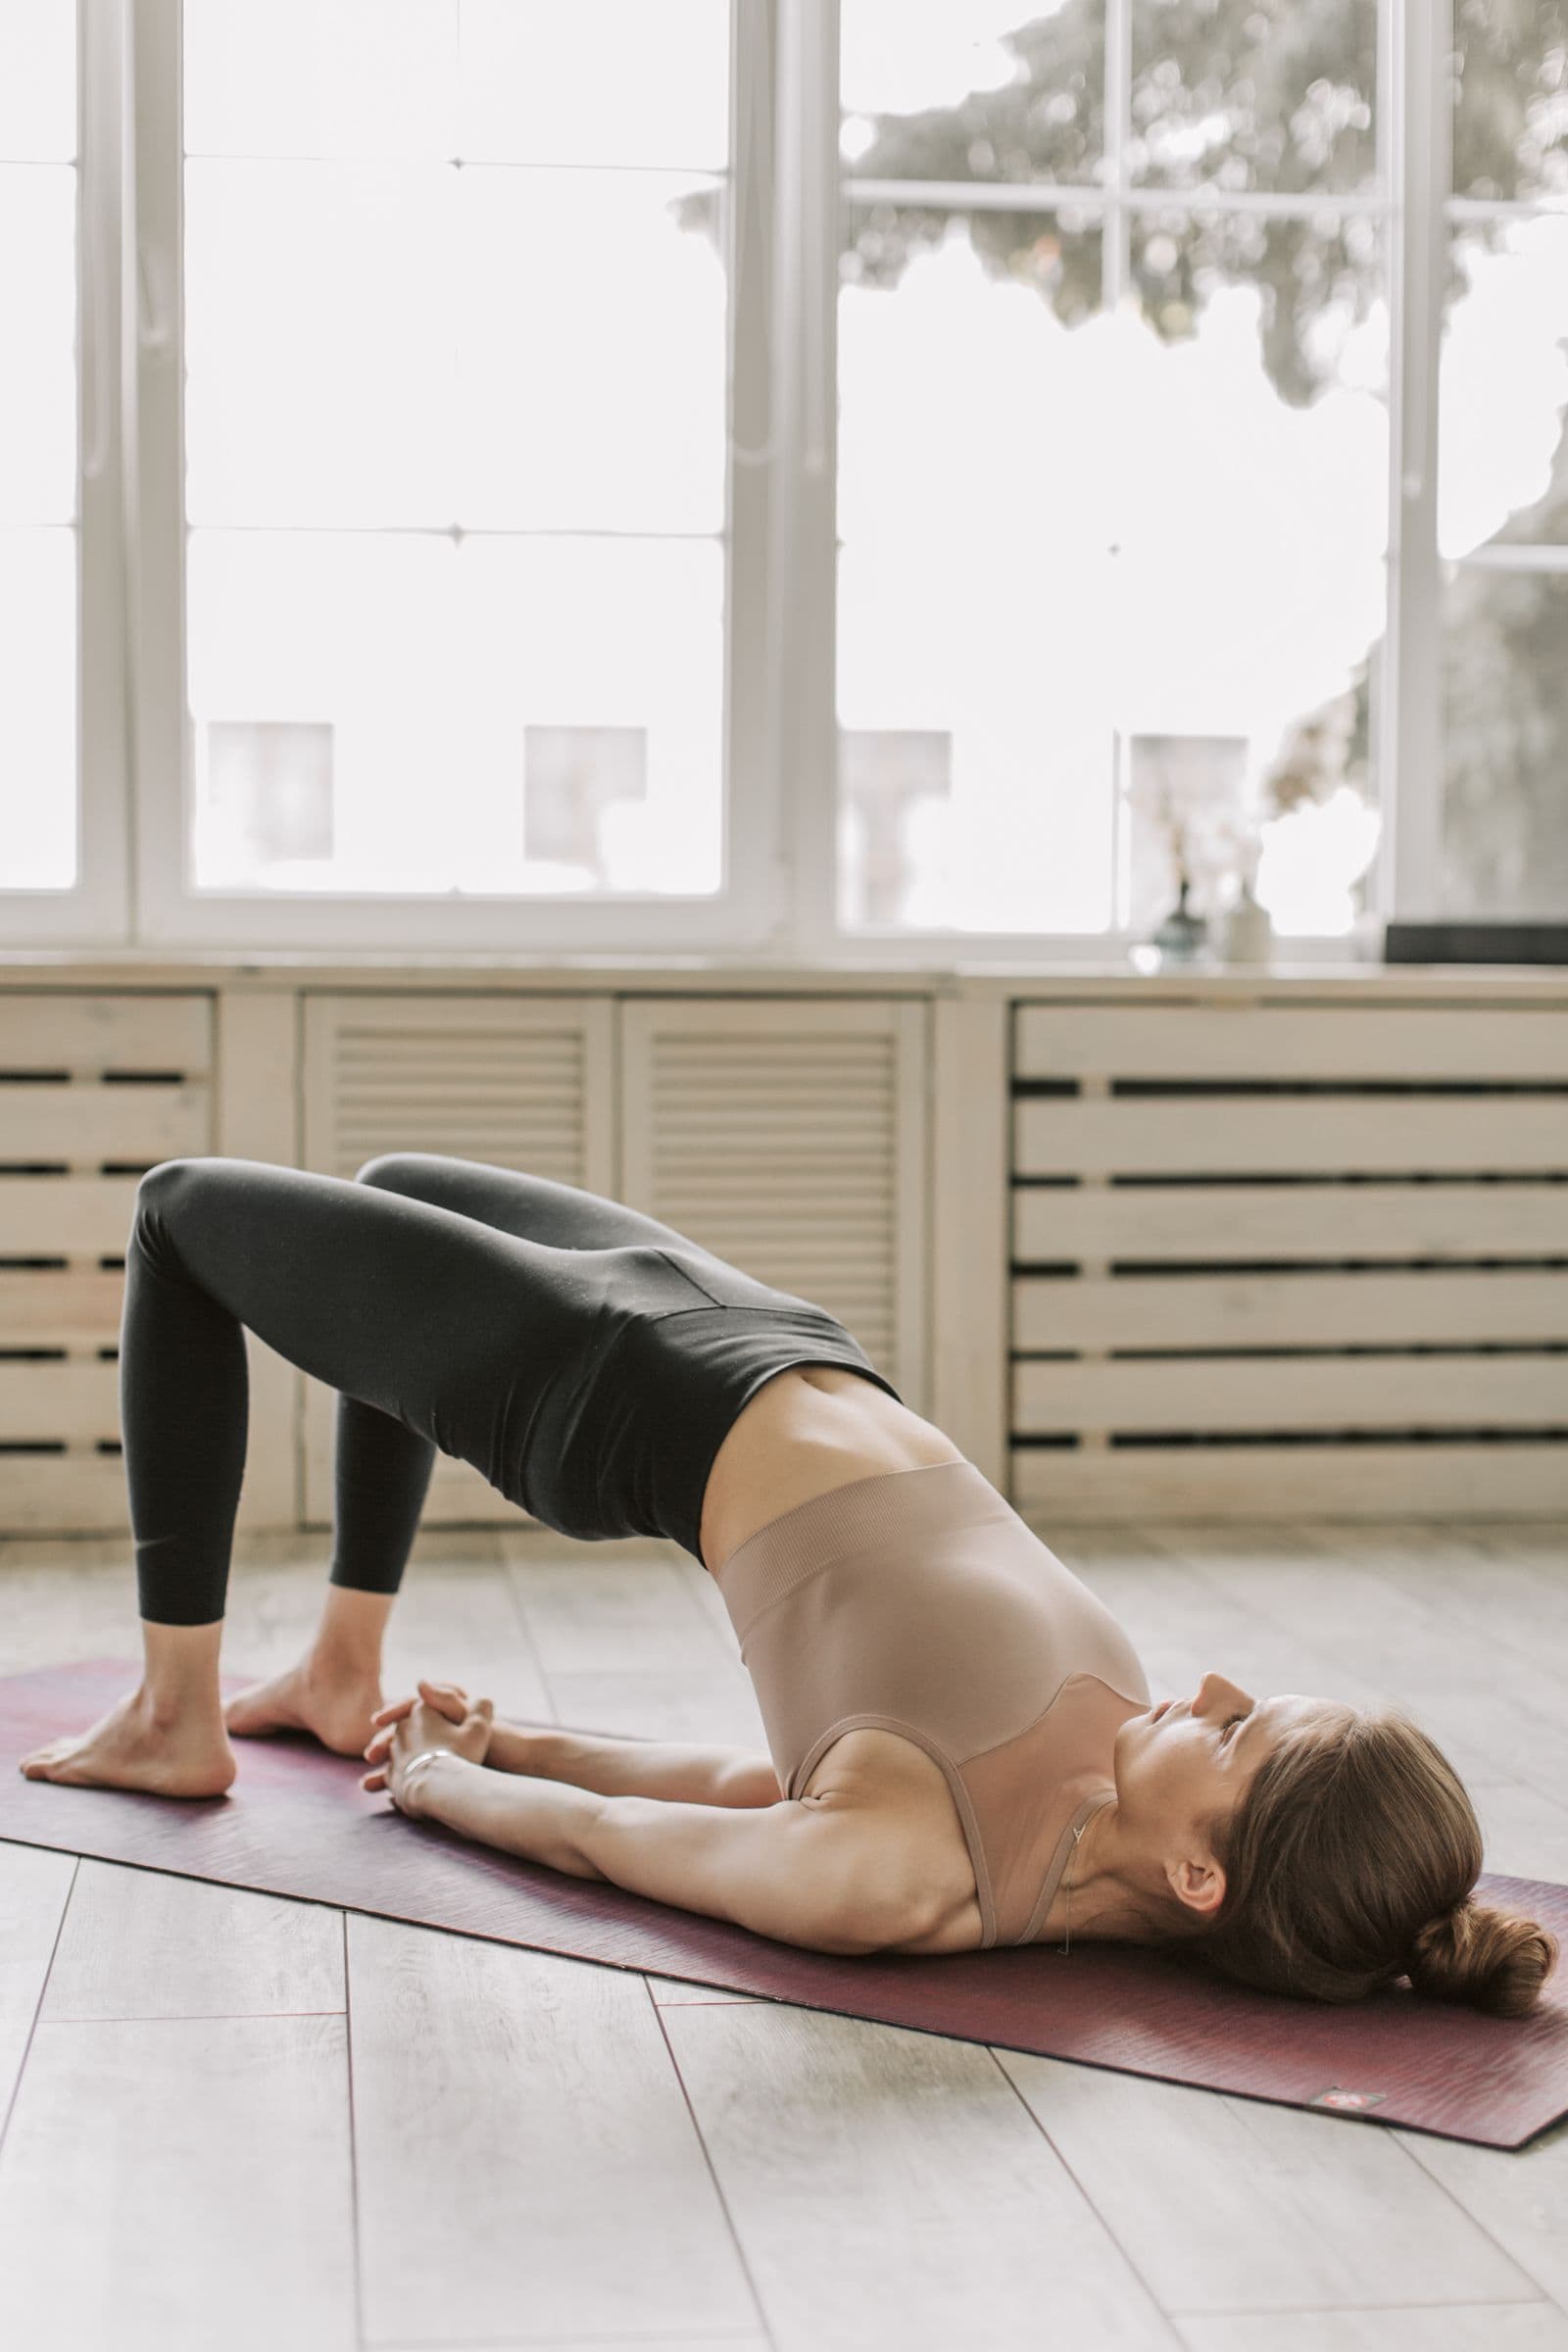
A product manager in her early forties booked a session last spring because her low back ached every afternoon and her right hip clicked on the stairs. She'd been stretching her hamstrings every night for a year. It wasn't helping.
I had her lie on her stomach and lift one leg a few inches off the floor. Her hamstring fired. Her low back fired. Her glute, the biggest muscle in the body and the one that's supposed to run that movement, stayed soft under my hand until the leg was already up. Then it joined in, late, like someone arriving after the meeting started.
That's dead butt syndrome. Trainers have called it gluteal amnesia for decades, the media picked up the funnier name a few years ago, and the listicles that rank for it will tell you to "do some bridges and see if you feel your glutes." That isn't a test. It has no score, no fail line, and no way to know if you've improved.
This post gives you three checks with actual scoring, what each combination of results means, and a four-week plan sorted by which test you failed. Nothing here needs equipment beyond a floor, a wall, and a mirror.
This isn't medical advice. If you have numbness down a leg, pain that wakes you at night, or a hip that's been diagnosed with anything structural, take these results to a clinician before a training program.
What dead butt syndrome is, and what it isn't
Dead butt syndrome is not a muscle that has died, torn, or wasted away. It's a recruitment problem. The gluteus maximus (the big one, hip extension) and the gluteus medius (the side one, pelvic stability) are still there and still capable of contracting. They've just dropped down the priority list. When you stand up from a chair, walk up a hill, or lift a box, the hamstrings and the low back extensors get there first and the glutes contribute less than their size suggests they should.
The pattern has been observed in the lab, not just in gyms. A 1994 study in the International Journal of Sports Medicine by Bullock-Saxton, Janda, and Bullock put surface EMG on the glute, hamstring, and back muscles while people lifted one leg lying face down. In people with a history of severe ankle sprain, the gluteus maximus switched on noticeably later than in controls, and the delay showed up on both legs, not just the injured side. The body had rewired the movement around the injury and never rewired it back.
Sitting does something similar without the injury. Hold the hip in flexion for eight hours, remove the daily demand for hip extension, and the nervous system learns that the hamstrings and low back are the tools for the job. Nothing hurts, so nothing corrects it.
What it isn't: it isn't the same thing as tight hip flexors, although the two travel together. Hip flexor length is a range of motion question, and the Thomas test in the knee-pain post covers it. This post is about whether the glute fires and for how long, which is a different measurement with different fixes.
Why eight hours in a chair turns the glutes down
Three things happen at once.
The hip flexors shorten. When a muscle on one side of a joint is held short, the muscle on the opposite side gets a weaker signal. Physios call this reciprocal inhibition. It's not a total shutdown, more like a dimmer switch turned down a third.
The demand disappears too. The glutes are built for extending the hip against load: sprinting, climbing, standing up under weight. A desk day contains none of that. Muscles that aren't asked to fire hard get slower to fire at all.
And the substitutes get good at the job. Every time you stand up with the hamstrings and low back leading, that pattern gets a little more rehearsed. After a few years it's the default, and the glutes have to be deliberately taught to lead again.
What you notice isn't a sore backside. It's a sore back, an achy outside hip, or a knee that tracks inward on stairs, because the muscles doing the glutes' job weren't designed for it. Which is why a lot of people in my studio arrive with a back or knee complaint and leave with a glute program.
Test 1: single-leg bridge hold
This is the endurance test, and the one with the most research behind it. A 2014 study in the British Journal of Sports Medicine by Freckleton, Cook, and Pizzari tested 482 Australian rules footballers on a single-leg bridge before the season, then tracked who strained a hamstring. The players who went on to injure their right hamstring had scored significantly lower on the right leg before the season started. A bridge on one leg, timed before the season, picked out who was going to get hurt.
The version I use at home is a timed hold rather than reps, because it's easier to score yourself and harder to cheat.
Setup. Lie on your back, arms along the floor, palms down. Bend one knee and put that foot flat on the floor. Then slide the foot out so the knee is at a wide angle, roughly 135 degrees, not the tight 90 degrees most people default to. A 2017 EMG study in the International Journal of Sports Physical Therapy by Lehecka and colleagues found that the traditional 90-degree bridge lit up the hamstrings at 75 percent of their max contraction, while the 135-degree version dropped hamstring activity to 23 percent with the glutes staying just as active. The wide angle takes the hamstrings out of the test, so you find out what the glute can do on its own.
Straighten the other leg and hold it in the air, level with the bent thigh. Push through the planted heel and lift your hips until your body is a straight line from shoulder to knee. Start a timer.
Scoring. Watch two things: how long you hold with the hips level, and where you feel the work.
- Pass: 30 seconds per side, pelvis level the whole time, effort felt mostly in the glute of the planted leg.
- Borderline: 15 to 30 seconds, or you hit 30 but the hamstring is doing most of the work or starts to cramp. Cramping is the hamstring telling you it's been handed a job it isn't sized for.
- Fail: under 15 seconds, the hip on the side of the lifted leg visibly sags, or your low back tightens before the glute does.
Do both sides. A difference of more than 10 seconds between legs is worth writing down even if both pass, because asymmetry is often where the first complaint shows up.
Test 2: prone hip extension firing order
This is the test I ran on the product manager. It measures timing rather than endurance: when you extend the hip, which muscle goes first?
Setup. Lie face down on the floor, forehead on your hands, legs straight. Put one hand under your hip bone if you want to feel the pelvis, or just leave both hands under your forehead. Slowly lift one straight leg two to four inches off the floor. Keep the lift small and don't swing the leg up. Lower it and repeat five times, paying attention to the order things switch on. If you can, have someone put one hand on your glute and one on the back of your thigh and tell you which tightens first. If you're alone, a phone propped on the floor filming from the side shows the low back and pelvis clearly.
The sequence you're looking for, as described by the Czech physiatrist Vladimir Janda whose work the 1994 study built on, is glute and hamstring together or glute first, then the low back on the opposite side, then the low back on the same side. What you'll often find in desk workers is the hamstring first, then the back, and the glute late or barely at all.
Scoring.
- Pass: the glute firms up at the same time as or before the hamstring, and the leg lifts without the low back arching or the pelvis rotating.
- Borderline: the hamstring clearly leads, and the glute joins in only once the leg is up. The lift itself looks clean.
- Fail: the low back arches or the pelvis tips before the leg leaves the floor, and the glute stays soft under a hand through most of the lift. On video, this looks like the lower back doing a small crunch to get the leg up.
The fail pattern is the one that produces afternoon back pain, because the back extensors are being asked to start every step and every stand.
Test 3: single-leg stance pelvic drop
Tests 1 and 2 are about the gluteus maximus. This one is about the gluteus medius, the side muscle whose job is keeping the pelvis level when you're on one foot. Which is every step you take.
Clinicians call this the Trendelenburg test. The home version needs a mirror.
Setup. Stand facing a mirror, feet hip-width, hands resting on the top of your hip bones so you can see the line between them. Lift one foot a few inches off the floor by bending the knee. Don't hitch the lifted hip up. Hold for 30 seconds and watch the line between your hands, and watch your trunk.
Scoring.
- Pass: the line between your hip bones stays level for 30 seconds, trunk upright, no lean toward the standing leg.
- Borderline: the pelvis holds for 10 to 15 seconds and then the lifted side starts to drop, or you keep it level only by leaning your upper body over the standing leg. That lean is a cheat the body uses to move the load closer to the hip so the medius doesn't have to work as hard.
- Fail: the lifted side drops right away, or you can't stay on one foot for 30 seconds without touching down.
Do both sides. A drop on one side and not the other explains a lot of hip and knee complaints that only ever show up on one side, and it's often the side that clicks on the stairs.
If you already ran the single-leg balance tests, this will feel familiar. The difference is what you're watching. Balance tests score whether you stay up; this one scores whether the pelvis stays level while you do.
Reading the combination
The three tests measure three different things, so the combination matters more than any single result.
Pass, pass, pass. Your glutes fire and hold. If your back or hips still ache after a day at a desk, the cause is probably hip flexor length, thoracic stiffness, or plain lack of movement, not activation. The hip mobility test is the next place to look.
Borderline on Test 1, pass on the others. Endurance is the gap. Firing is fine, the muscle just tires early. This is the easiest profile to fix, usually within four weeks.
Borderline or fail on Test 2, anything else. Timing is the gap. The glute can work, it just doesn't lead. This is the most common desk-worker profile I see and the one most closely tied to afternoon back pain. It needs slow, deliberate work more than heavy work.
Fail on Test 3, pass on the others. The medius specifically is under-recruited. This is the profile behind the clicking hip and the knee that drifts inward on stairs. Side-lying work fixes it faster than anything done on two feet.
Fail on two or more. The glutes are genuinely out of the rotation. Start at Tier 1 below and stay there longer than feels necessary.
A note on what a fail means at different ages. If you're 35 and fail, that's a loud signal that sitting has taken more than you thought. If you're 60 and borderline everywhere, that's closer to normal wear and still fixable, but the timeline stretches. Different lives put different demands on these muscles, and the plan below scales either way.
The four-week wake-up plan
Four weeks, three short sessions a week, ten to fifteen minutes each. The point is to teach the glutes to lead, so every rep is slow and you stop a set the moment the hamstring or low back takes over. Fewer clean reps beat more sloppy ones.
A 2009 EMG study in the Journal of Orthopaedic and Sports Physical Therapy by Distefano and colleagues ranked twelve common rehab exercises by how hard they worked the glutes. Side-lying hip abduction topped the list for gluteus medius; the single-leg squat and single-leg deadlift were highest for gluteus maximus. The plan below is built on that ranking, with easier entry points in front of the harder movements.
Tier 1, weeks 1 and 2: teach it to fire
Single-leg bridge, 135-degree knee, 3 sets of 8 per side, two-second hold at the top. Same setup as Test 1. If the hamstring cramps, walk the foot further out. If the low back takes over, lift less high.
Side-lying hip abduction, 3 sets of 12 per side. Lie on your side, hips stacked, bottom knee bent for balance. Lift the top leg with the toes pointed slightly down, not up, and stop at about 30 degrees. Higher than that and the hip flexor and low back start helping. You should feel this on the outside of the hip, just behind the hip bone.
Prone leg lift with a glute squeeze first, 2 sets of 10 per side. Same position as Test 2. Squeeze the glute deliberately before the leg moves, then lift two inches. This is practicing the firing order directly.
Tier 2, weeks 3 and 4: make it stronger
Keep the Tier 1 work as a warm-up, then add:
Hip thrust, shoulders on a couch or bench, 3 sets of 10. Feet flat, knees at about 90 degrees at the top, chin tucked. Drive the hips up until the torso is level with the thighs, pause, lower. Bodyweight for the first week, then a backpack or a dumbbell across the hips.
Step-down from a low step, 3 sets of 8 per side. Stand on a step, one foot hanging off the edge. Lower the free heel toward the floor by bending the standing knee, keeping the pelvis level (Test 3 in motion). Tap the heel and come back up. Watch the standing knee: it should track over the second toe, not drift inward.
Split squat, 3 sets of 8 per side. Long stance, rear knee lowers toward the floor, front shin stays close to vertical. Push through the whole front foot to stand.
Who this plan fits, and who should change it
Someone training for a marathon or already lifting three days a week can fold Tier 1 into their warm-up and skip straight to Tier 2 loads. Someone coming back from a long layoff, or with a cranky back, should stay in Tier 1 for the full four weeks and only add the Tier 2 movements once all three tests are at least borderline. Neither version is more correct. The one that fits into your actual week is the one that will still be happening in May.
Retesting, and when a fail needs more than drills
Retest all three at the end of week four. Most people who start at borderline on Test 1 pass it by then. Firing order on Test 2 usually improves within two to three weeks once it's practiced deliberately, because it's a nervous system change and those come faster than strength changes. Test 3 is often the slowest, since the medius has typically been the most neglected of the three muscles.
Some results shouldn't go straight into a program. If one side fails Test 3 badly and the other passes clean, and you've had no injury to explain it, get a hip looked at. If Test 2 produces pain in the low back rather than just effort, or if any of these reproduce a pain that runs below the knee, stop and see a physio before continuing. And if you've done four honest weeks and nothing has moved, the limiting factor is probably somewhere other than the glute, which is exactly what a broader screen is for.
The free movement screen is the same assessment I run with every new client. Five minutes, six areas scored, no email required. It'll tell you whether the glutes are the actual bottleneck or whether something upstream, like ankle range or thoracic rotation, is why they never get a fair chance to fire.
If you'd rather have someone watch the tests, catch the compensations you can't see on a phone video, and build the plan around your results, that's what one-on-one training is for. I've logged more than 12,000 sessions with adults around San Jose and the South Bay, and the product manager from the opening is now doing loaded hip thrusts with her back pain gone. Her glutes were never dead. They just needed to be asked.
Ready to train smarter?
Get a personalized program built around your goals, your body, and your schedule.
Book Your Free ConsultationRelated Articles

Buttock pain when sitting? At-home tests to tell a hamstring tendon from a trapped nerve
Buttock pain when sitting usually comes from one of two places: the hamstring tendon at the sit bone, or the sciatic nerve deep in the buttock. Three at-home tests to tell them apart, and a plan for each, from a San Jose trainer.
Balance Test at Home: 3 Single-Leg Checks for Adults Over 40
Standing on one leg for 10 seconds is tied to how long you'll live. Three at-home balance tests, real age-decade benchmarks, and the drills that fix what's actually failing. A San Jose trainer's guide.
Am I losing muscle? A four-part sarcopenia self-test you can score at home
Sarcopenia has clinical cutoffs you can test with a chair, a tape measure, and a hallway. A San Jose trainer walks through the four screens, what a low score actually means after 50, and what to do about each cause.